Self-hosting VSCode
As so many others, I’ve switched to VSCode as my go-to IDE in recent years. I won’t go into the details as to why I made that switch, but I really enjoy using it and find it to be a rather productive tool. It’s another Electron app for the desktop, and while that typically bothers me a bit, in today’s post we’ll actually use that to our advantage.
VSCode in the Browser
Electron is a framework for creating native applications with web technologies like JavaScript, HTML, and CSS. It allows for the development of desktop GUI applications by combining the Chromium rendering engine with the Node.js runtime. This means when you’re running VSCode, you’re really just looking at a stripped-down version of a browser window, with the app running inside it.
As such it probably isn’t a real surprise that you can also run VSCode inside a regular browser. GitHub and Microsoft offer hosted VSCode instances to their customers, but I’m all about self-hosting and there’s nothing stopping you from running your own VSCode instance on your server.
This comes with a few benefits:
- don’t take your development environment with you, have it available wherever you go
- suspend work and resume exactly where you left off, even on another machine
- no need to sync your environment and VSCode setup across multiple machines
- uses the “horsepower” of your server, runs smoothly even on an old tablet
Luckily there are already a few projects out there that package VSCode as Docker images for us. I’ve decided to go with github.com/cdr/code-server, which looks well maintained and offers regularly updated images, which we can extend and customize to our needs.
Trying out code-server locally
mkdir code-home
docker run -it --rm -p 127.0.0.1:8080:8080 \
  -v "$PWD/code-home:/home/coder" \
  -u "$(id -u):$(id -g)" \
  -e "DOCKER_USER=$USER" \
  -e "PASSWORD=password" \
  codercom/code-server
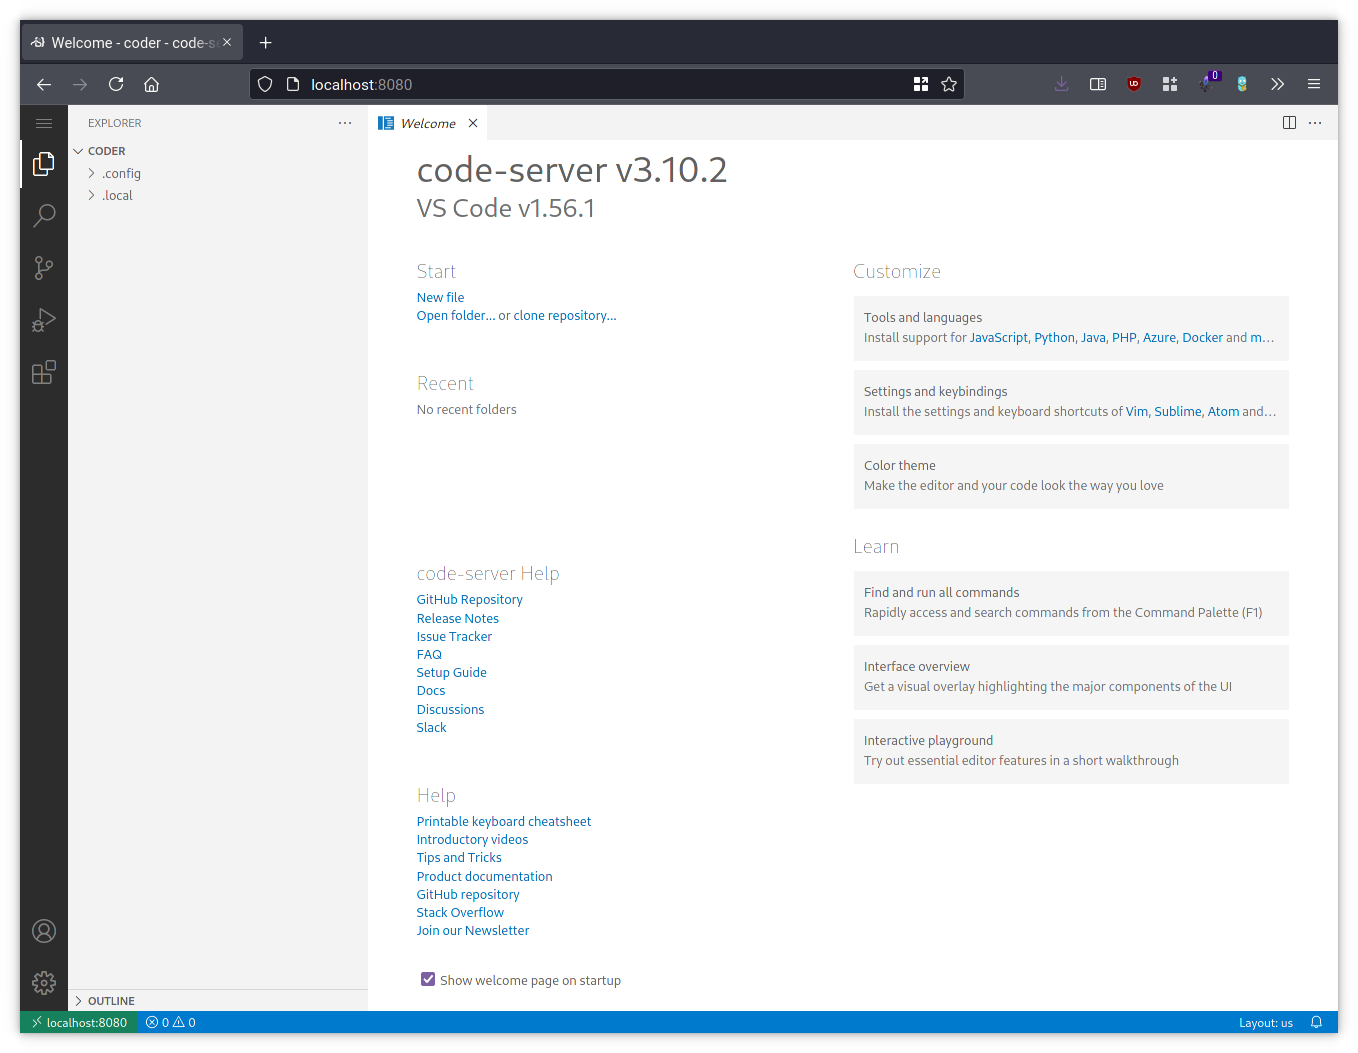
You can now open your browser, go to http://localhost:8080
and you will be greeted by a VSCode instance running inside a docker container.
We mount code-home as a volume, so any changes to the home folder
(/home/coder) inside this container will be persisted.

You’ll find everything pretty much behaves like the “real” Electron app: you got
your editor, a terminal, you can clone git repositories, and even install some
VSCode extensions. There’s one problem however: while you can actually use
sudo apt install to install packages, the next time you restart this Docker
image all your changes would be lost as we only persist the data of the home
folder.
A customized image
Time to make your own customized Docker image that extends the existing
code-server image from upstream with all the tools and packages you typically
need for development. In the example below we’ll install a few extra packages
(wget, build-essential) inside the container, and also fetch and untar the
latest Go release. Feel free to adjust this to your needs! Create a file named
Dockerfile with the following content:
FROM codercom/code-server

# base packages
RUN sudo apt update && \
    sudo apt install -y wget build-essential

# install latest Go
RUN wget -q -c "https://dl.google.com/go/$(curl https://golang.org/VERSION?m=text).linux-amd64.tar.gz" -O - | sudo tar xvz -C /usr/local

ENV PATH="/usr/local/go/bin:${PATH}"
We can now build this image:
docker build -t code-server .Let’s start up a new container with our freshly built image:
mkdir code-home
docker run -it --rm -p 127.0.0.1:8080:8080 \
  -v "$PWD/code-home:/home/coder" \
  -u "$(id -u):$(id -g)" \
  -e "DOCKER_USER=$USER" \
  -e "PASSWORD=password" \
  code-server
Automated Docker builds
It is a bit cumbersome to manually update your own image whenever the upstream
docker image changes, so let’s automate this entire process. You can do this on
your own machine, but since I’m managing my Dockerfile in a git repository one
way or another, I’ll just use GitHub here. Create a new repository on GitHub,
add the Dockerfile you just created, as well as a new GitHub workflow
(.github/workflows/build.yml):
name: build

on:
  push:
    branches:
      - "main"
  schedule:
    - cron: "0 0 * * *"

jobs:
  docker:
    runs-on: ubuntu-latest
    steps:
      - name: Set up QEMU
        uses: docker/setup-qemu-action@v1
      - name: Set up Docker Buildx
        uses: docker/setup-buildx-action@v1
      - name: Login to DockerHub
        uses: docker/login-action@v1
        with:
          username: ${{ secrets.DOCKERHUB_USERNAME }}
          password: ${{ secrets.DOCKERHUB_TOKEN }}
      - name: Build and push
        id: docker_build
        uses: docker/build-push-action@v2
        with:
          push: true
          pull: true
          no-cache: true
          tags: username/code-server:latest
      - name: Image digest
        run: echo ${{ steps.docker_build.outputs.digest }}
You will need an account on hub.docker.com, where the
images will get pushed to. Make sure to replace username in the workflow above
with your hub.docker.com username. You will also need to create two repository
secrets on GitHub, where you share your credentials with the workflow as DOCKERHUB_USERNAME
and DOCKERHUB_TOKEN. You don’t have to enter you plain-text password here,
alternatively you can just create a new accesstoken on hub.docker.com.
This workflow will get executed every day at midnight, as well as whenever you
push a change to your Dockerfile in the repository. It first builds a new
code-server image and then pushes it to hub.docker.com.
Hosting
All this makes little sense if we don’t make our own instance available and host
it somewhere. I’ve written a little docker-compose.yml for your convenience.
You may have to slightly adjust this if you’re not using traefik and
watchtower.
version: "2.1"

services:
  codeserver:
    image: username/code-server
    restart: unless-stopped
    volumes:
      - ./home:/home/coder
    environment:
      - PASSWORD=password
    networks:
      - web
    labels:
      com.centurylinklabs.watchtower.enable: true
      traefik.enable: true
      traefik.http.routers.codeserver.rule: Host(`code.hostname.tld`)
      traefik.http.routers.codeserver.entrypoints: websecure
      traefik.http.routers.codeserver.middlewares: codeserver_auth
      traefik.http.middlewares.codeserver_auth.basicauth.users: "username:..."

networks:
  web:
    external: true
Make sure to change the hostname, password, and basic-auth configuration in the example above.